
How To Sew A Zippered Pillow Cover (Beginner Tutorial)
To sew a zippered pillow cover is a fast and inexpensive way to spruce up your home. It takes up minimal fabric and a little straight line sewing.
Plus, storing pillow covers takes up so little space versus storing the entire pillow.
I store my seasonal pillow covers in the plastic bins with my other decor. Everyday pillow covers are stashed in covered baskets in my family room under the sofa table.
This is a great beginner sewing project. With this step by step tutorial, there is no fear in sewing zippers.
I usually sew my pillow covers using the envelope closure. With the back having two flaps to stuff the pillow form in. I used this for my stars and stripes pillow cover. That method uses up double the amount of fabric for the backing. There are times when I have just enough fabric for a pillow front and back. Not enough for a double back.
That’s when I insert a zipper into the bottom of the pillow cover to insert the pillow form. This is really easy. Don’t shy away from sewing zippers. I know we have all heard about how hard they are but that is just not so. Sometimes you just got to jump in and do it.
A nylon coil zipper is the easiest type to sew. They are readily available through sewing and craft stores. Much lighter in weight than metal teeth zippers. You don’t need the strength of a metal zipper so a nylon coil zipper is ideal for using in a pillow cover. Plus, you can’t sew over the teeth of a metal zipper.
How To Sew a Zippered Pillow Case
Ready to sew a zipper? Let’s go!
Start with a zipper that is 4 inches less than your pillow cover. In my example, the pillow cover is a 20 inch square. You need a zipper large enough to allow the pillow form to be inserted easily into the pillow cover. So, a 16 inch zipper is ideal for this.

The following instructions are for a 20 inch square pillow.
Zippered Pillow Cover Supplies
- One 16 inch nylon coil zipper
- 2 pieces of 20 inch squared fabric (meaning 20 inch on each of the 4 sides of fabric)
- Thread
- Masking tape – 5/8 wide
- wash away pen
- sewing machine
- zipper foot for sewing machine
- Iron
Instruction for Inserting a Zipper into a Pillow Cover
All seams are to be sewn with a 5/8 inch seam allowance.
- First, iron your zipper flat on low heat. Most zippers have nylon coils that will melt. You could also use a press cloth to protect the zipper. A flat zipper is much easier to sew.
- I like to mark the ends of the zipper onto the fabric with a wash away pen so I have a guide line when sewing the two sides together. This helps me to know when to change my stitch length.
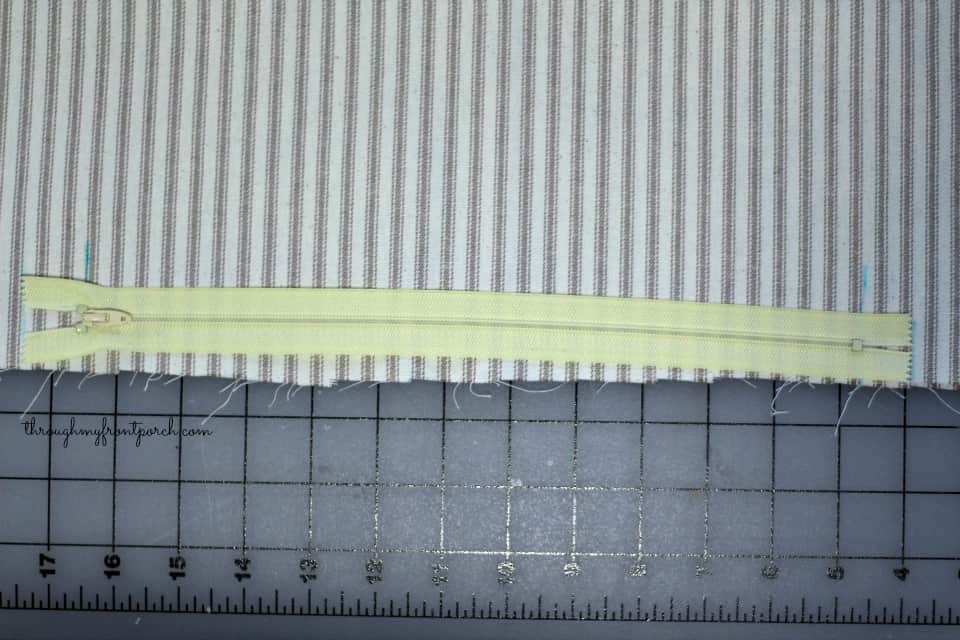
- With the wrong sides of the pillow pieces together, sew two inches with a normal stitch length on one side. Do not remove the fabric. Now increase your stitch length to a long basting stitch length. Continue to sew till two inches from the end of that side. Return the stitch length to normal. Sew the remainder of the seam.
- Press the seam open.
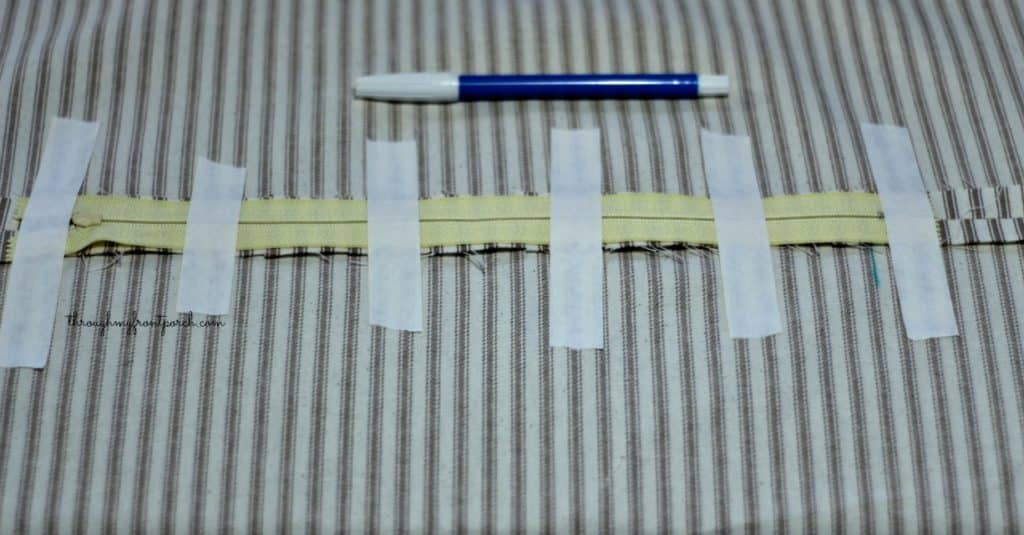
- Place the zipper right side down on the seam. Center the zipper with the zipper teeth laying on the seam itself. Using pieces of the masking tape to temporarily adhere the zipper to the seam.
- Turn the fabric over. Place another piece of masking tape the length of the zipper on the right side of the fabric over the zipper. You will use the tape as a guide to sew your zipper.

- Take this to the sewing machine and sew around the tape using a zipper foot. The zipper foot allows you to get close to the tape. I also reinforce the ends of the zipper ( the short end) by sewing a couple of times back and forth. The pillow cover takes a lot of stress when removing the pillow form. The extra stitches will help to prevent the stitching from breaking.

- When finished, check to make sure the stitches caught the zipper tape.
- Remove the basting stitches from the zipper seam.
- Open the zipper.
- With right sides together, stitch the other 3 sides of the pillow cover. I have some tips for sewing a straight line in this post.
- Through the zipper opening, turn the pillow cover right side out. Use a skewer or pencil to pop out the corners.
- Press your pillow cover. I think it looks better when pressed.
- Insert your pillow form.
- Zip up that zipper.

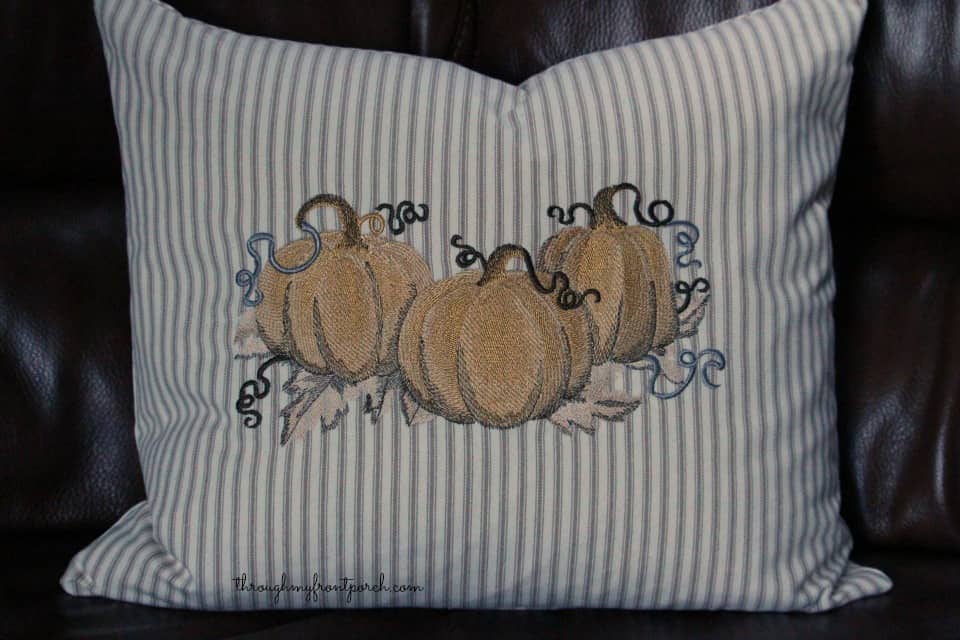
There it is. Sitting pretty on my sofa. I did machine embroider the fabric before I sewed it all up. I need to go sew some Christmas pillow covers now.

That wasn’t hard at all. Now go sew a zippered pillow cover or two.
Thank you for providing precise and easy to understand instructions! Some videos on sewing a pillow case with a zipper can be ridiculously confusing, but your steps aren’t! I always look for your page when it’s been a while since I’ve sewed with a zipper.
I am so glad you found the tutorial helpful. Thank you very much for the lovely comment!