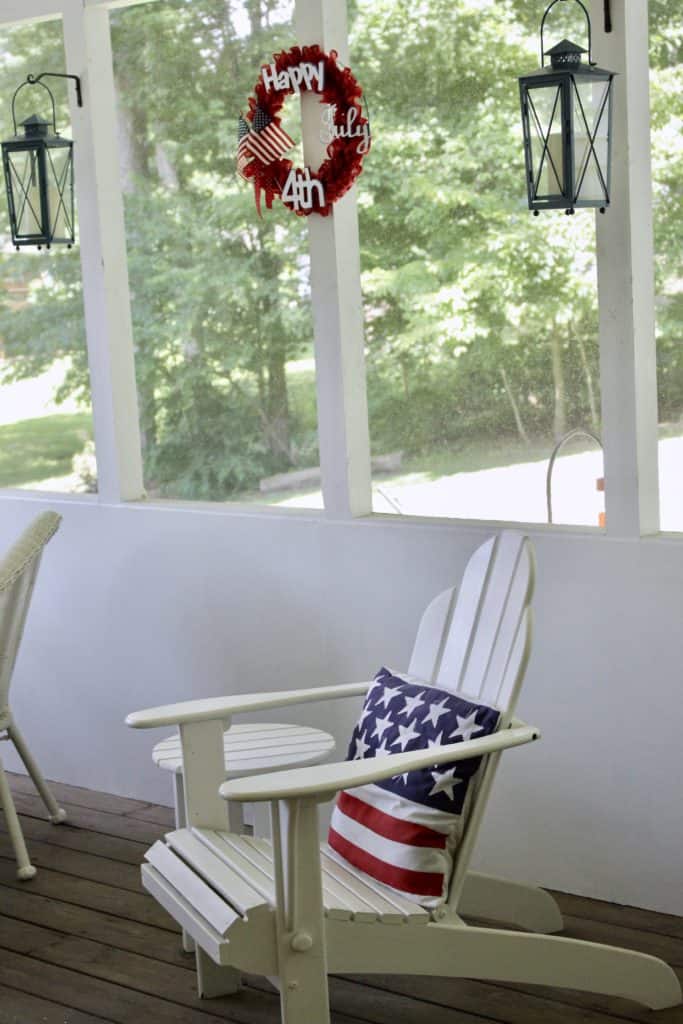
DIY 4th Of July Burlap Ribbon Wreath With Cricut
Holiday decorations just aren’t complete without a wreath. Fourth of July is no exception. This DIY 4th of July burlap ribbon wreath couldn’t be any cuter. Made with a Cricut cutting machine makes this an easy project.
I hung this wreath in our screened in porch due to using chipboard and card stock. Indoors is best for this wreath. It brought just enough 4th of July decor to our home. Plus it was fun to make.

DIY 4th of July Burlap Ribbon Wreath with Cricut
Start with a wire wreath frame, a roll of burlap ribbon, Cricut cut words, and two flags. Using the Cricut to cut the words made this project super easy. Plus all the materials cost less than ten dollars to make.
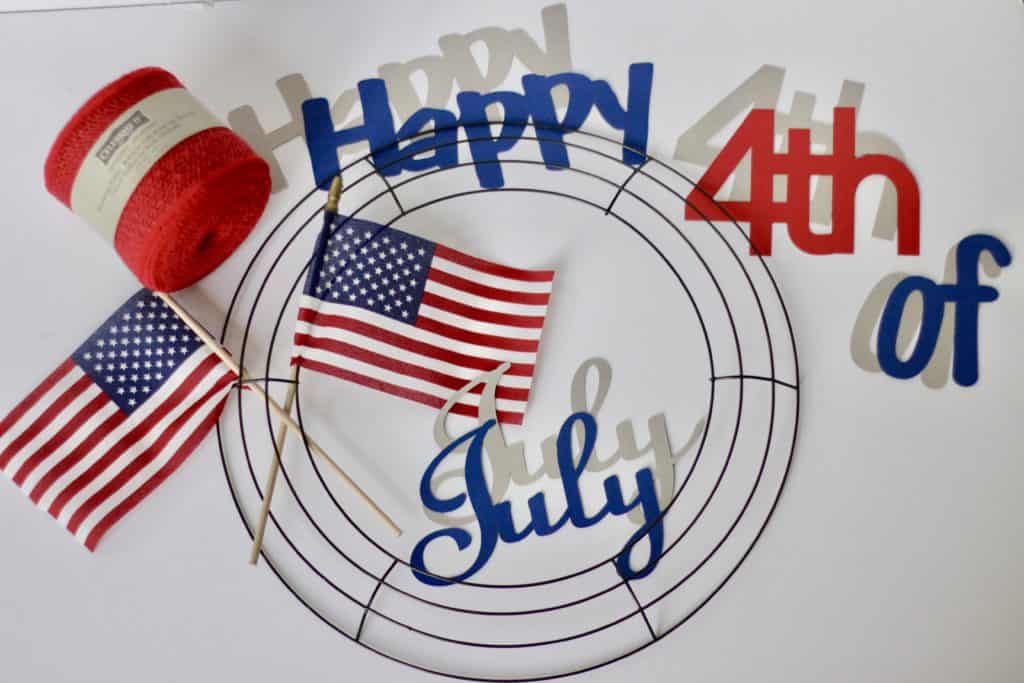
Starting with a wire wreath frame I found at Dollar tree, I also purchased two small American flags from a local store for .50 each.

The burlap ribbon came from Michaels on sale, of course. I used one roll of ribbon but for a fuller wreath, you may want to use two rolls. I only covered the inside frame. The outside frame is visible but for my purpose I am fine with it.
Cut The Words
- Happy
- July
- 4th
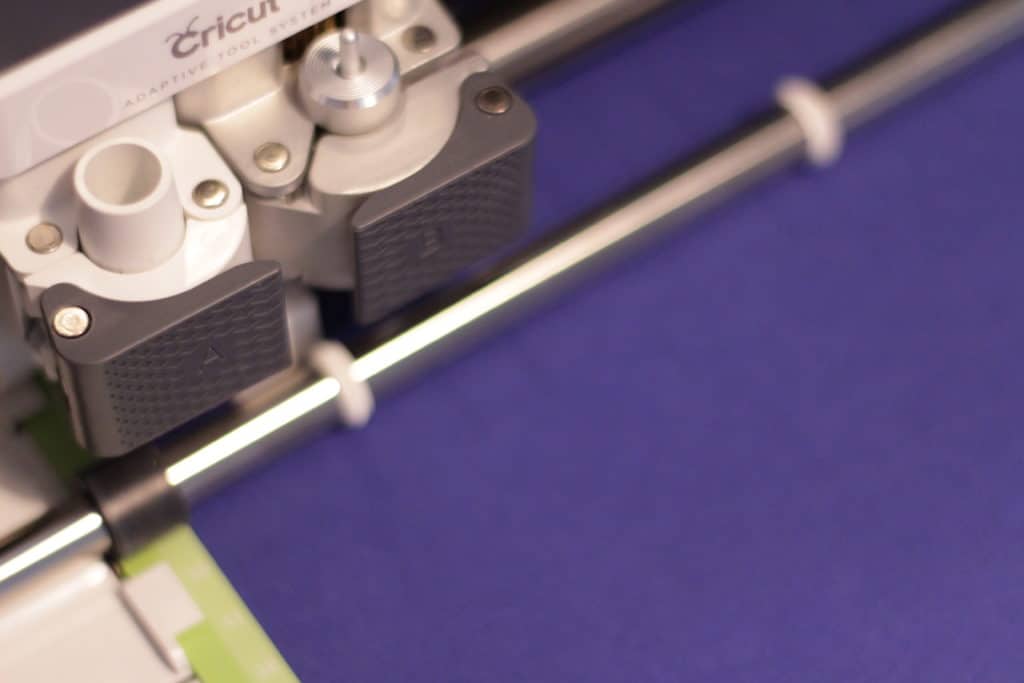
Using my Cricut maker, I cut all the words out of blue and white cardstock and another set from chipboard. Chipboard gave the cardstock some stability.
I cut more words than I needed. Then I wasn’t happy with the red 4th and went back to cut it out of blue. I also decided to add the white overlay on the lettering because the blue just didn’t stand out enough. When creating, sometimes your vision changes.
It’s okay to make any changes to suit how you want your project to be.
You could use any Cricut machine to create the lettering. I simply designed it in Design Space with fonts I owned. Feel free to use what fonts you like.
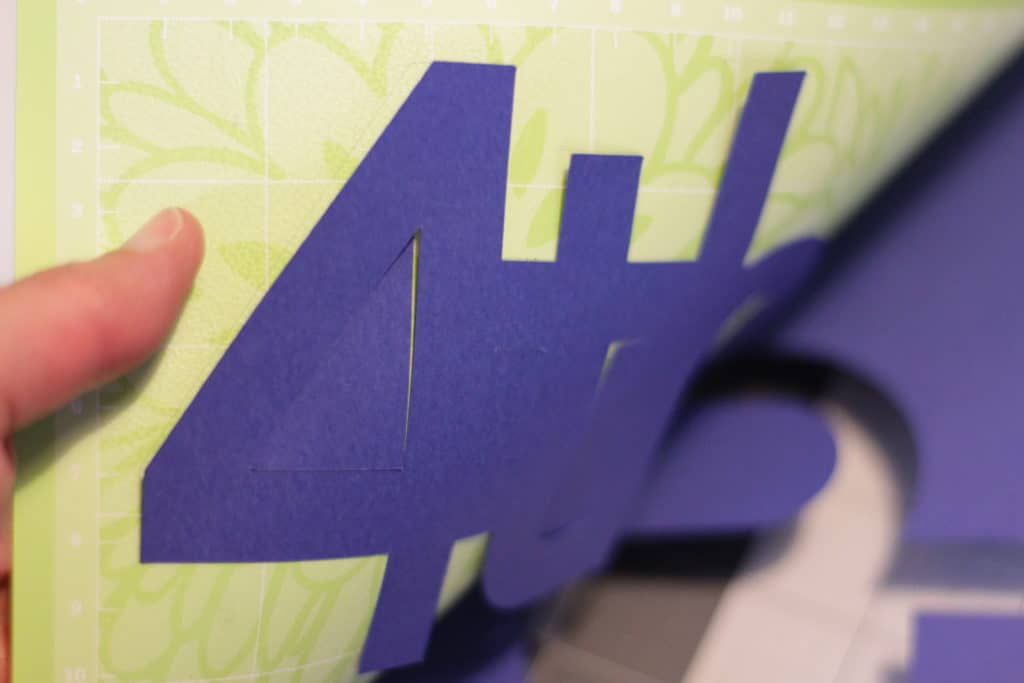
Quick Tip
When removing card stock lettering from your Cricut mat, lay the mat right side down and peel the mat from the lettering. Pull the mat from the letters. Do not peel the letters from the mat by pulling on the cut letters. The cut letters could bend and tear. This way you are not bending your letters.
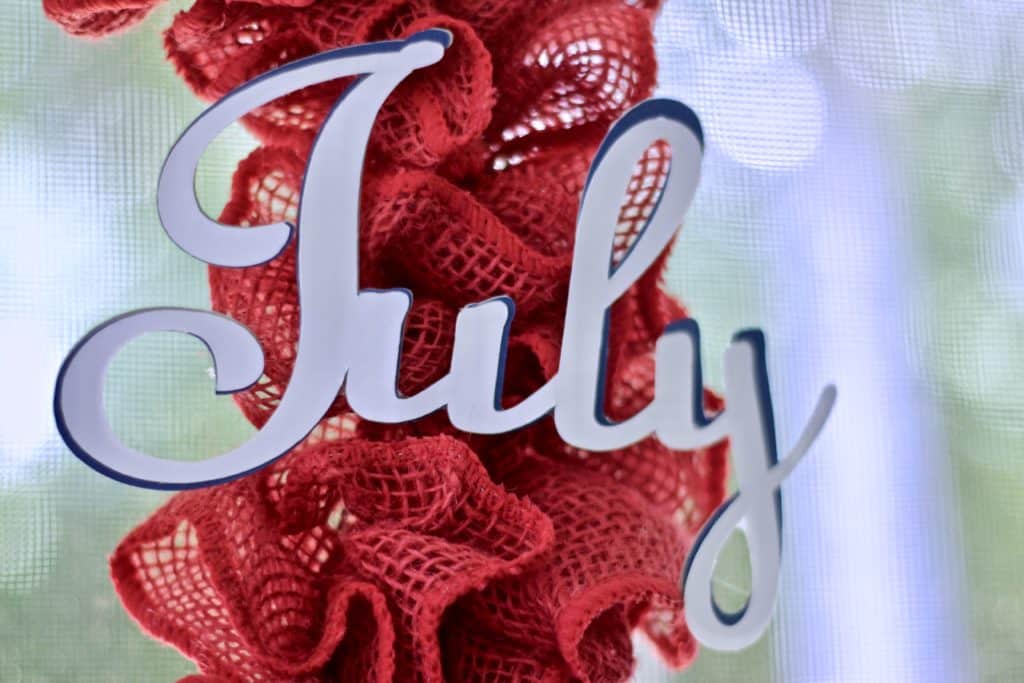
Tutorial for 4th of July Burlap Ribbon Wreath
After cutting the words for the wreath, you will glue those together as stated below.
Glue the blue card stock and chipboard lettering together. This makes the wording steadier. You don’t want any flimsy wording on the wreath so it sits properly when hot glued to it.
When gluing on the white layer, slightly offset the white to allow the blue to show a bit. This gives the words a shadow effect. You could use a shadow font but I didn’t think of it at the time.

Adding Burlap Ribbon
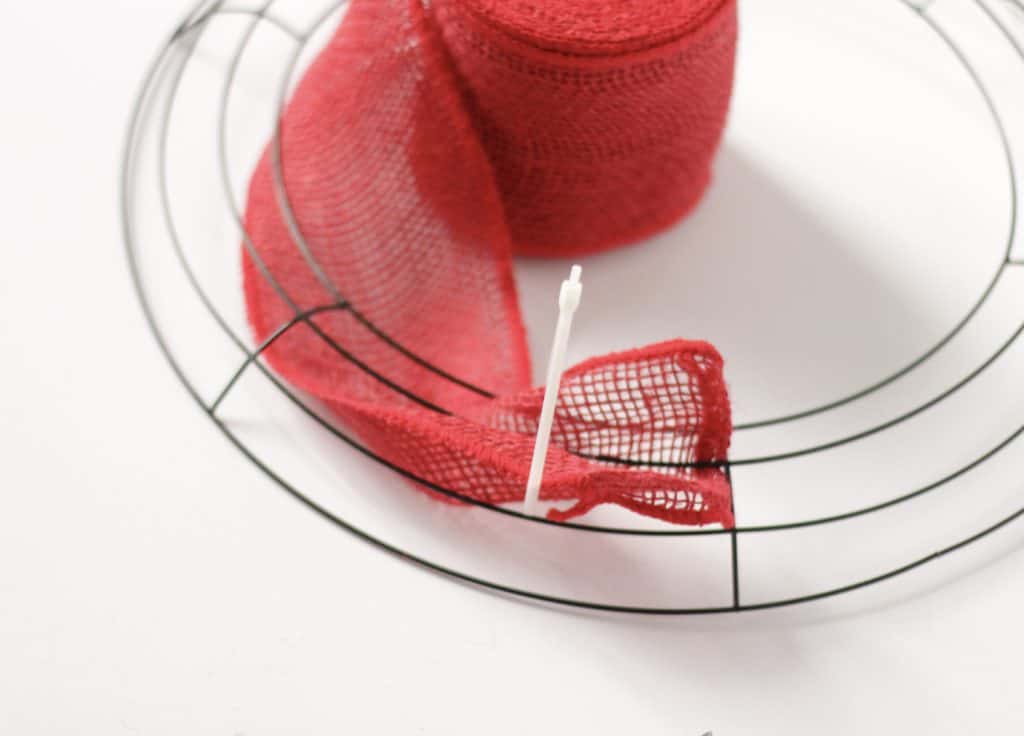
Secure one end of burlap to the wire wreath frame with a zip tie. Cut the end of the zip tie so there isn’t a loose end. Begin to pull the ribbon up and around the second wire from the inside. Continue pulling the ribbon up and around the wreath frame, scrunching it as you go. Use the entire roll of ribbon. Continue until you have reached where you started.
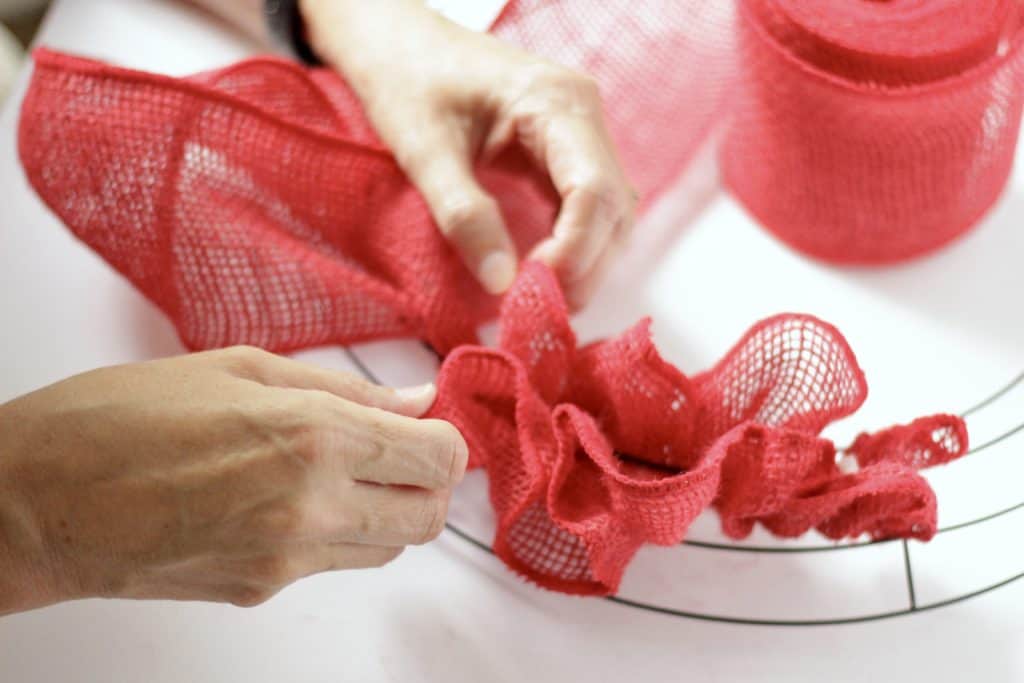
Secure the end of the ribbon to the frame with another zip tie. Overlapping the two cut ends so they aren’t visible. Distribute burlap ribbon evenly over the entire wreath frame.
Add 4th Of July Wording
Hot glue the 4th of July wording onto the burlap ribbon. It doesn’t take much glue. Then tie the two flags with ribbon to the left side of the wreath frame. You are done.
A quick and easy 4th of July decoration.
Supplies Needed:
- wire wreath frame
- roll of burlap ribbon
- 4th of July wording cut with Cricut or store bought
- 2 small American Flags
- length of ribbon to tie the flags together
- 2 zip ties
- hot glue
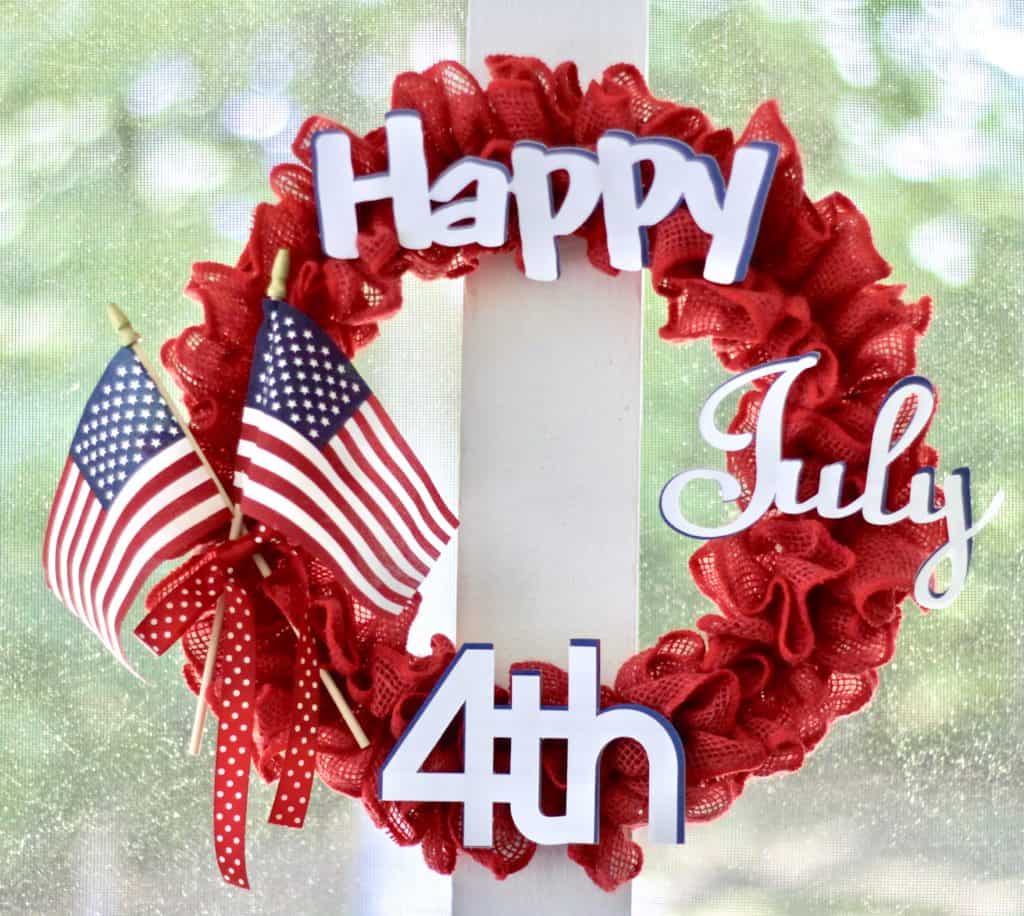
This 4th of July wreath along with my Stars and Stripes pillow make for a nice decoration in my screened in porch.
Check out how my porch decorating ideas for more inspiration.